Diana's Feet
Wire Armature


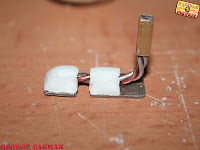


Wire Armature


The feet were made using the smaller square brass K&S which I cut to the planned lengths shown in my design. These pieces of K&S were then Epoxy glued to pieces of steel plate which had been cut and filled down. Once the Epoxy glue had dried I ran twisted wire (two part Aluminium one part Copper) connecting the sections of feet. The wire was then bent upwards with another piece of smaller square K&S Epoxy glued on, this allows the feet to be replaceable.


I then made up some Milliput and manipulated this around the area where the Brass and the Steel had been glued together, adding strength to the foot.
Sculpts


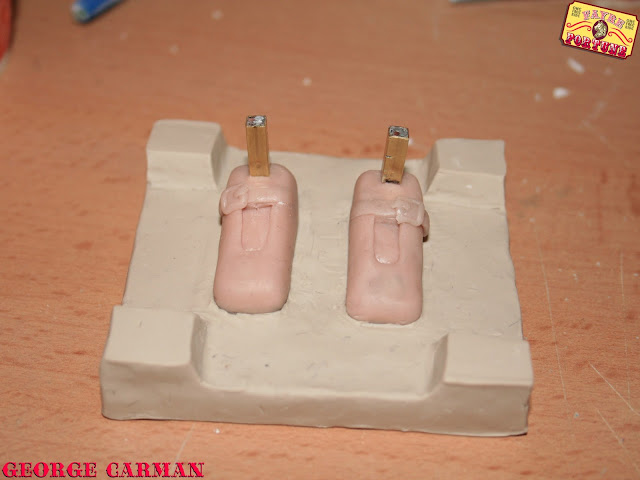
Next I Sculpted my feet, I went back to sculpting with Sculpey for the feet as oppose to the "Gedeo Modelling Paste" used on both sets of hands. I'm not knocking the Gedeo paste its great! Really useful for two part moulds, I just find Sculpey easier to sculpt with. I decided to go simple with the shoes adding a buckle and strap and also a heel for tiny details.
Laying Up
Part One


Because Diana's shoes have tiny heels the mould needed to be taken in two parts, exactly how I had done for the hands. I rolled out a piece of plasticine and cut silhouettes of the soles of the shoes and gently pressed the shoes into this cut out shape so that just the sole imbedded. I filled in any gaps with small pieces of plasticine using sculpting tools. The edges were then built to form a box making sure it was completely sealed, I then carefully pored in the plaster from one corner and left to set.
Part Two


As with the hands to make the second half of my mould I placed pieces of plasticine around the feet to create a smaller surface area for when both sides will be pressed together, this would create a smaller split line. I applied a small amount of Petroleum Jelly to the areas of plaster that were exposed, so both sides of my mould would not bond to each other. I then repeated the final two steps used on part one of my mould.
Final Two Part Mould
Part one

Part Two

Above are photos of the final two sides of Diana's feet mould


